100 Day Project 2017

I’m halfway through the 100 day project! 50 days down, 50 to go!

This year I decided on a quirky little project that I can finish in 15-20 minutes, so it’s been really easy to stick with it each day.

I’m drawing a simple “blind” drawing (drawing with my eyes closed), choosing the item I draw each day arbitrarily by what I feel like drawing. Then, I choose a color from a “color moment” I experienced that day and paint in a background color around the object. On the back of each 3×3 inch piece I also paint a color swatch and write the color’s name. Since the colors are related to something from each day, I’m gathering quite a nice collection of memories that may otherwise go unremarked.

Here are a few more favorites from the first 50. If you want to see them all, check out the hastag pool for #100colorblinds and be sure to follow along @aisforanika on Instagram!

If you have any suggestions for other things I can draw, please let me know in the comments! I’m compiling a list of possibilities. Since not every object lends itself well to being drawn blind, it’s helpful to have a lot to choose from!

Preparing for a Successful Creative Daily Challenge

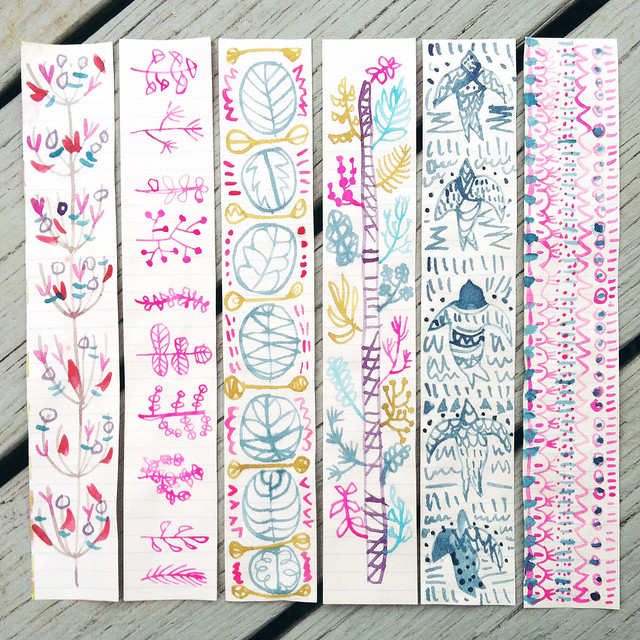
It’s already day 2 of the #PatternJanuary challenge! I’m having so much fun seeing what everyone is posting. There’s a great variety of styles and subject matter already! If you’re just learning about this challenge, please feel free to join in at any time. You can catch up if you want to, but you don’t have to!

Day 1 - Happy and Day 2 - Forest #patternjanuary
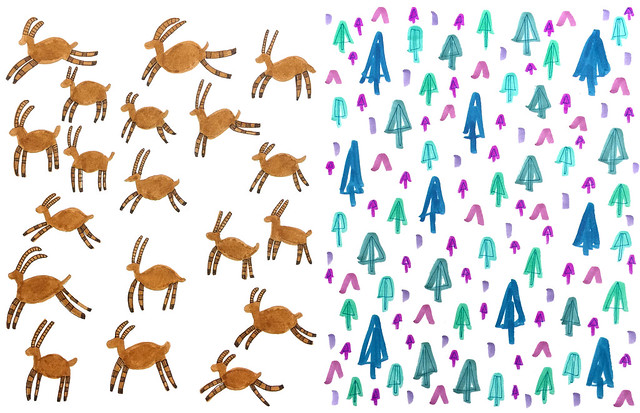
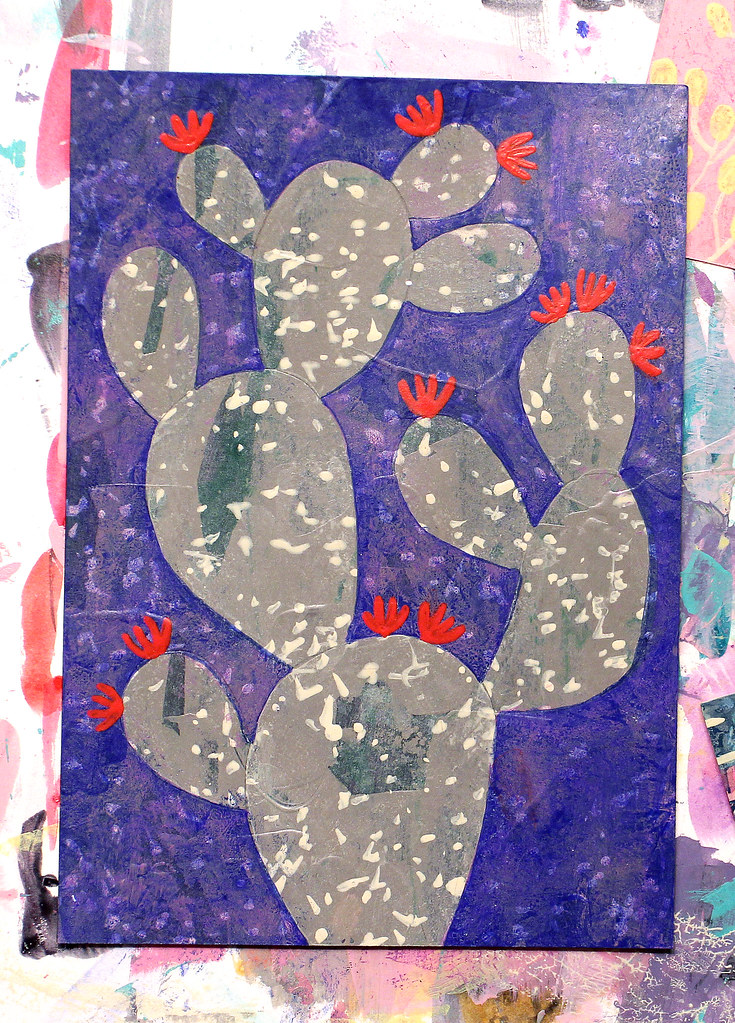
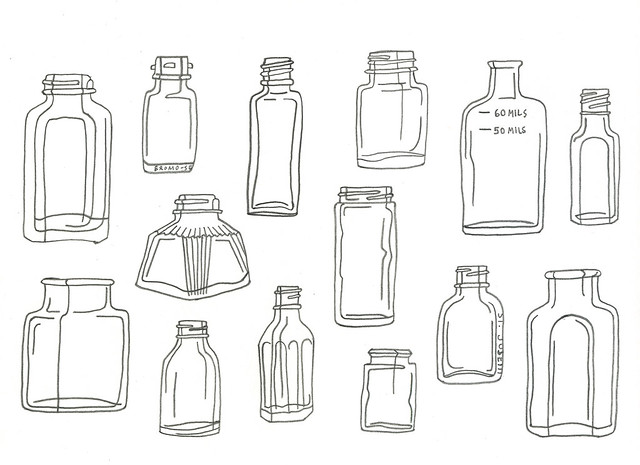
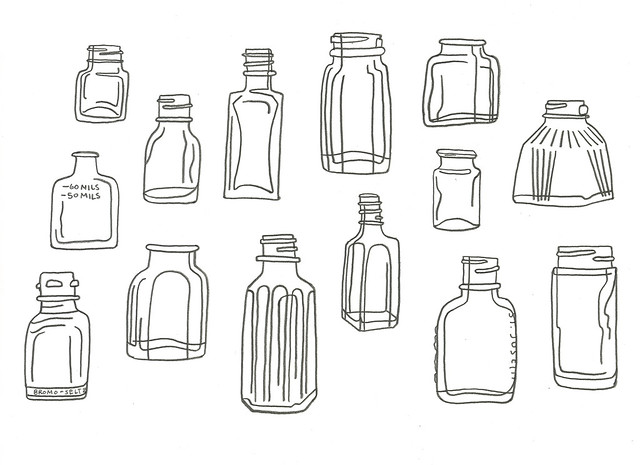
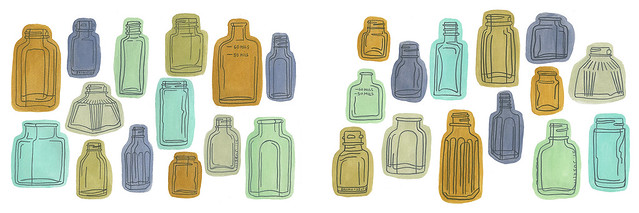
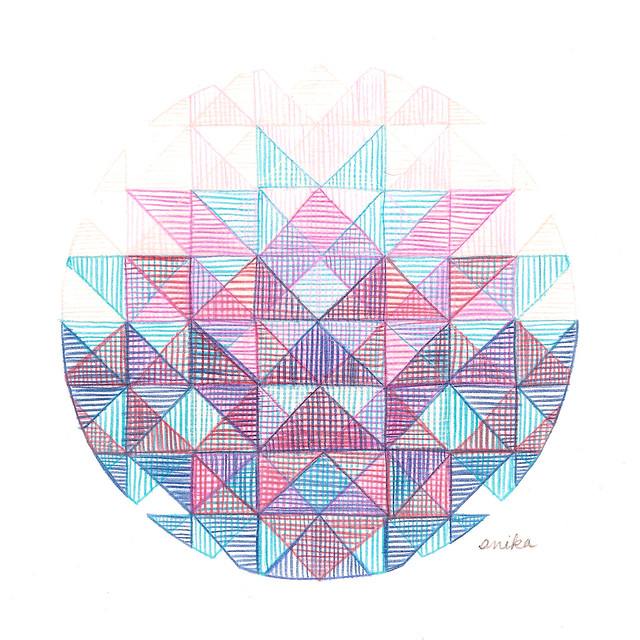
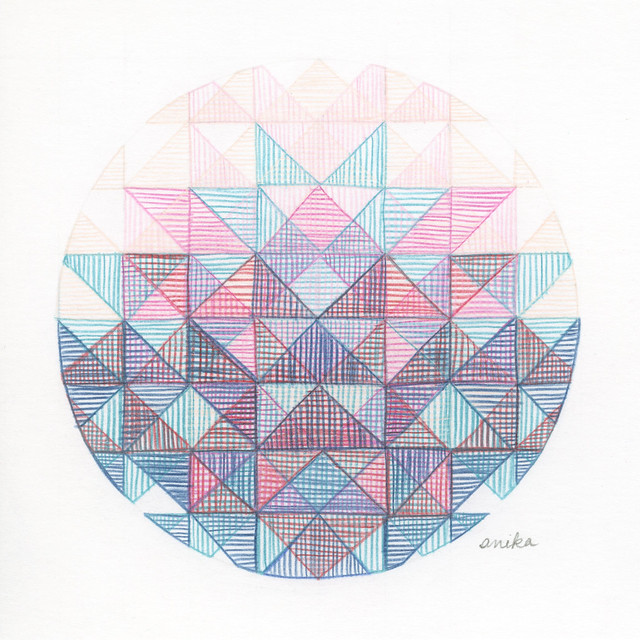
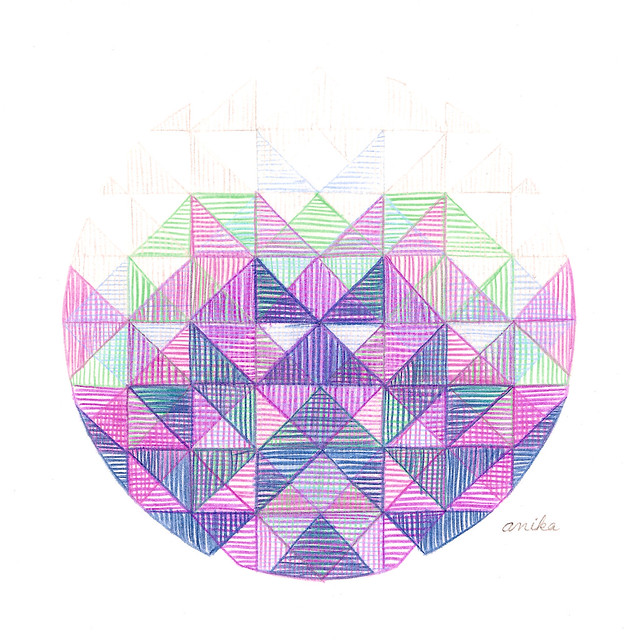
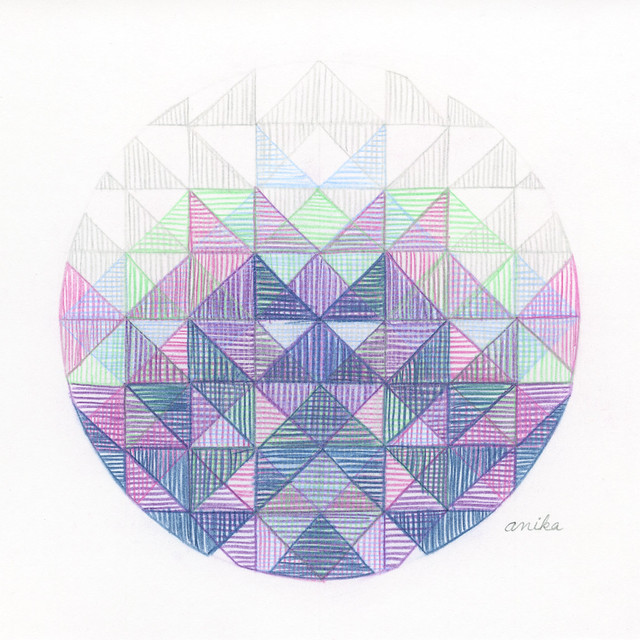
Day 1 – Happy (left) and Day 2 – Forest (right)

A couple people voiced concern about being able to keep up with the challenge everyday. First of all, let me say that there is NO PRESSURE from me if you join Pattern January and don’t finish. I will consider it a great success if you post one pattern, or even if the challenge inspires you to do something different on your own!

If you’re still feeling a little uneasy, and not sure if a daily challenge is possible for you, check out the following tips to help you get into the right mindset to prepare for success in any creative ongoing challenge. (If you’re already feeling confident and ready to go, then by all means go for it and do your thang!)

1. Decide What You Have Time For

When I created daily patterns in 2013, I adjusted the challenge each month to a different medium, and my choice always depended on what I had time for. If I was traveling, I put together a simple travel kit that wouldn’t take up much space. When I was home and had a light work load, I had time for more in depth pursuits such as trying a new medium, or improving skills.

Look at your schedule for the month ahead and think about what you realistically have time for. If you have family visiting every weekend and big deadlines at work, it might be a good month to work in a small sketchbook with just a brush pen or two.

We all have especially busy months, but don’t automatically take the easy route! If your schedule is on the lighter side, that might be the time to commit to something more involved. In either case, carving out some creative time can be so rewarding–make it a priority.

2. Create Space

Before you get going on your challenge, set up a creative space in your life. It took me a while, but I discovered that it’s a lot easier to start creating every day when I’m not surrounded by teetering piles of paper and supplies.

Choose a physical area where you will work on the daily prompt. Take some time to clean up if need be, and set up your space in your studio, dining room table or even by the tv! Gather the supplies you want to work with and have everything ready to go ahead of time.

Also think about the space of time when you want start creating. If you can work on your daily challenge at around the same time everyday, that consistency will help you to achieve your goal. You could go as far as penciling it in your agenda or setting a reminder on your phone. And if you’re pressed for time during the month, set yourself a time limit!

Another way to think about creative space is the area you’ll be covering with your beautiful art. Depending on what medium you choose to work with, a 9″ x 12″ sketchbook can be a huge time commitment. Think about whether a smaller size, maybe 6″ x 8″ or even 3″ x 5″ would be more doable.

3. Keep It Simple

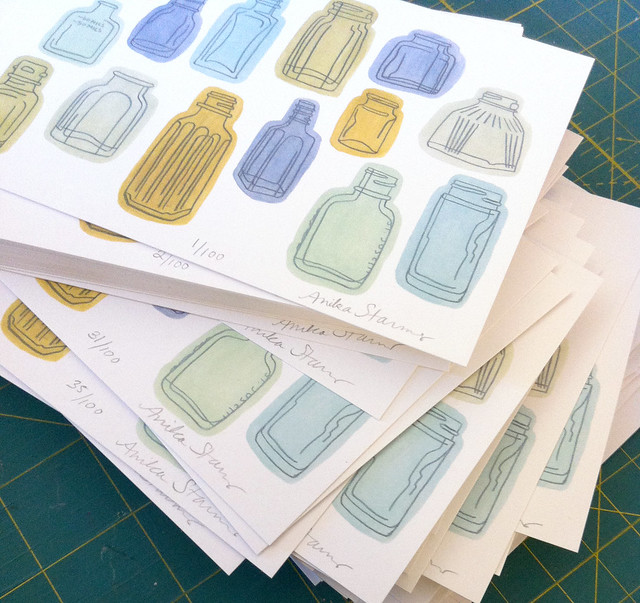
I started my first month of daily patterns in September 2012 with a set of 5 colored gel pens and a small handmade notebook. The materials were so easy and familiar, I enjoyed every minute of it! In November 2012 I continued with copic and prismacolor markers which were my go-to supplies for years before that. The familiarity of those simple tools made it so much easier to show up every day. After I got into the routine of creating, trying a new medium didn’t seem like such a hurdle, and by January 2013, I was eager to try carving stamps, which I’d never done before!

If the idea of working with a new medium is intimidating, Keep it simple and go with what you know. If you have a favorite brush pen, or if you’re crazy about watercolor, use those familiar tools to help you through the month.

4. Make the Challenge Your Own
(Take my advice! Or don’t!)

I’ve enjoyed several daily challenges hosted by others. The Doodle a Day Challenge by Rhianna Wurman and the Index Card a Day project (ICAD) by Tammy Garcia from Daisy Yellow Art come to mind. I was most successful when I set up my own parameters. I decided to forgo the optional prompts during ICAD, but had fun covering the cards with marker doodles and sharing it with the lively group. When I joined the Doodle a Day Challenge, I combined it with my own daily pattern project, using the prompts as a jumping off point.

Is there a way you can combine a challenge like Pattern January with something you are already learning or want to get better at? Do you want to draw patterns, but you’re not loving the prompts? Try instead to focus on a particular medium or type of pattern to explore for the month.

Feel free to adjust the challenge as needed! Even if you decide a particular challenge isn’t right for you, but it inspired you to come up with your own unique goals, that is also awesome!

5. Feeling Pressure? Adjust!

I’ve done a few challenges here and there where I got overwhelmed and quietly gave up. If I’d given myself permission to adjust as I went along instead of chucking the whole idea, who knows what I could have created?!

If you start a challenge and you get part way through and realize you’ve taken on too much, you are allowed to change the rules! If painting takes too long, switch it up to something faster like markers or color pencils. If posting every day is stressing you out, post every other day, or post a weekly recap. If creating every day is overwhelming, let yourself create every other day, or only during the week, or just on weekends. Go easy on yourself when you need to, and you’ll find that establishing a regular creative habit will be easy too!

6. Final Thoughts

Although it might seem like my tips have devolved into convincing you to do as little as possible, that is not my point, I promise! I want to get the idea across to you that you can make any creative challenge work for you, and I encourage you to do so! There are so many details that you can customize ahead of time, and then change along the way before you get to the point of calling it quits. I have to tell you, it feels amazing when you complete a creative goal (even a modified one!), so I highly recommend you make up your mind to create consistently on whatever level you choose!

Are you planning a creative challenge this year, either daily, weekly, or monthly? I’d love to know about it (whether you’re doing Pattern January with me or not!). If you have any tips for success in an ongoing creative commitment, please share your ideas as well! Thanks for stopping by!

Painting Roundup, 2014

I’ve been cleaning up my studio in preparation for a new year of art making, and when I came across a stack of paintings that I’ve made throughout the year, I thought it would be fun to tape some of them them up on the wall and take a look.

A Selection of Paintings on Paper from throughout 2014

This group of art shows a variety of the different ideas and mediums I explored throughout the year. There was a lot of watercolor, paint pen, acrylic, gouache, pencil and markers. I worked on watercolor paper, loose printer paper, and even index cards.

Another Detail of Paintings from 2014 on Wall

There was a LOT of art that didn’t make it up on the wall: more art on loose paper, but also a ton of work in sketchbooks. In 2013 I filled 14 sketchbooks with artwork, and while I don’t have the final numbers for this year, but I wouldn’t be surprised if it was close to that! My plan is to round them up, film some flip-throughs and put together a post about them soon.

I’m sure the sketchbookery will continue in 2015, but I also plan to do a lot more art out of my sketchbooks. I really want to focus on created finished works on paper, panel or canvas in the coming year.

Detail of Paintings from 2014 on Wall

To help with this goal, I’ve devised a daily challenge for myself. Basically I’ll be creating one painting for every day of the year! I’m still not 100% sure about all the details, but I think I’ll decide on a particular size somewhere between 4×6 and 6×8 and take it from there. More info on that project is coming soon.

Here’s to lots of creativity in the coming year!

Cactus, Painted in Layers

I recently got a great deal on some Golden acrylics, and I’ve been having fun trying them out.

I’d been working regularly with watercolor before getting these new paints, and switching between the two is always a bit of a challenge until I get the feel for it again.

When I got back into watercolor a few months ago, I found myself laying it on way too thick and wanting to layer it. Now that I’ve gotten used to watercolor, my initial acrylic efforts were getting kind of muddy until I “remembered” the magic of layering.

After a few layers of paint, I had a somewhat muddy dark gray surface with light speckles. I wasn’t too impressed at first, but coming back to my art table after a break and taking another look, the speckled surface reminded me of cactus prickles. I ran with the idea!

Close up of Cactus Painting

I drew the outline of the cactus shape (you can see pencil lines where the segments meet) on the page, and then painted around the edges with a layer of purple and then blue. For those two layers I thinned out the paint and painted it thickly in sections, then dabbed it off with a paper towel before it could completely dry. That technique allows you to see through to the speckled layer, as well as the lighter purple layer under the ultramarine blue. It also gives the piece the vibrant luminous color that it needed.

The final touch was adding red cactus blossoms here and there.

Long Paper

The paper quality isn’t the best and there are lines across it (which I tend to avoid), but it sparked a bunch of creative ideas for me because: It’s really long and skinny.

I couldn’t wait to let my mind wander and doodles some shapes.

Watercolor Doodles

If you’re curious, the dimensions of the paper are 1.75″ x 11″. It’s amazing how such a simple change, like using an unusual sized paper can inspire so many new ideas. Now I’m thinking of all those scraps I’ve tossed over the years from cutting down paper. If only I’d known! I’ll certainly be keeping them in the future.

Pencil and Paint

These paintings, as a group represent the beginning of my resolve to paint more in 2014.

Submission for the We Are The Contributors Project #2: Beginnings

These initial paintings are about jumping in, getting something down on the page, and building the momentum. I worked quickly on each piece. I didn’t over think it and I didn’t judge any of it as “good” or “bad”. I was immersed in the process, laying the groundwork to be able to move forward with energy and enthusiasm.

I’ve only shared 9 of the 32 works I created, with the intention of taking each one further than this initial stage.

By now the new year is well under way. What are you beginning, or what have you recently begun? Even if you started something a month or two ago, I’d love to know about any new territory you are exploring, what new art medium you’re giving a try, or if you’ve started a long term project for 2014.

Bottle Collection

Several weeks ago I saw a call for art at Light Grey Art Lab. The show is called 6 Degrees, and it’s an, “exhibition and project celebrating the work and cultures of artists from around the globe–a show about the power of the collective voice”. To be considered for the show, I had to submit a portfolio site for review.

I’ve wanted to participate in one of LGAL’s group shows ever since I took a couple of workshops with them back in 2012. This one seemed perfect for me, so I put together a portfolio site on Cargo, submitted the link for consideration, and crossed my fingers.

I was so happy to see my name a few weeks later listed among the accepted artists!

I was asked to, “think of your surroundings and the environments, people and places that make your world special,” and base my piece for the show on those ideas. I gave it a lot of thought and the process lead me through the macro and micro environments in which I live.

I’m from the US, but what does it mean to be from Maryland? What’s the distinction about being from Gaithersburg? What is it like to live in my neighborhood? How is the street I live on unique? What about my house and yard? That lead me to one more general question: how do I interact with my environment, wherever I might be–whether at home exploring the back yard, running errands in a nearby town, or checking out museums in DC.

I realized: I’m a collector. No matter what environment I’m in, I go into noticing mode. I collect images with a camera, and I gather treasures that I find, both natural and manmade. Collecting ideas and items is my way of registering the inspiring details I encounter day to day that might otherwise be forgotten.

Since the theme of the postcards ultimately was to be about me, I got to thinking about my immediate environment where I spend the most time–my yard, my house, my street, and the nearby creek.

Initially I planned to create a still life sourced from some of my collections gathered in my surroundings–bottles found by the creek, feathers I come across on neighborhood walks, flowers from the garden, or one of my many potted plants. As I started gathering items together, I focused more and more on my collection of bottles.

bottle collection

I’ve found all of these bottles (and more) down by the creek. There is an old farm dump down there, and I can always count on finding a few glass treasures when I go exploring, especially after we get a lot of rain. My most prized bottles are the blue one, the old ink pot, and the small milk jar. I’m still amazed at the variety of bottles I can find so close to home!

But I digress. To get started, I decided to do a few loose sketches of the various bottles in my sketchbook.

bottles sketch

I had an idea to do washes of color over the bottles as a nod to the translucent colors of the glass. I chose colors that were inspired by real bottle colors, but since most of the actual bottles are clear, I took creative license and used the colors at full strength.

Although I had intended this to be the first step in an entirely different process, I really liked the result of this initial experiment, so I chose to pursue the idea further.

I found these initial sketchy drawings quite charming, but I decided to redraw the bottles twice more. While still maintaining the spontaneous line quality, I drew the bottles more carefully and included more details.

bottle drawing with more detail

I drew them once more in a looser style, though still somewhat more refined than the the original sketches.

bottle drawing, looser

Then I had two versions to work with. Both similar and both good!

I went ahead and painted both versions with the gouache wash technique I tried in my sketchbook.

both versions: refined on left, looser on right

Still both similar and good! How to choose?

Ultimately it came down to the size at which the art was going to be displayed. We had to get postcards printed of our art which would be displayed at the show. I chose to go with the standard 4×6 inch size because anything bigger requires the same stamp as an envelope! Since the final size is on the small side, I chose to use the looser of the two drawings for the final piece. Since the lines were bolder and less detailed, it actually made a better impact at postcard size.

final bottles for Light Grey Art Lab 6 Degrees Show

I got the cards printed at Overnight Prints on uncoated stock, and they turned out beautifully!

bottle postcards

I signed and numbered all 100 cards, bundled them up and shipped them off to Minneapolis. The show opened December 6th and is on display through January 17th, so if you happen to be in the area, do stop by and check out all the awesome postcard sized art work.

If you won’t get a chance to see the art in person, check out the show’s online page where you can see all the cards! You can also purchase larger prints of any of the postcard art on Light Grey’s site. I’m offering the print of my “Bottle Collection” at 13×19 inches for $30, and there are also a limited number of postcards available for just $6. Here’s a link to the listing for my “Bottle Collection” card and print, and another link to the main LGAL shop.

Food Memories

A collection of food memories in list form

1. My mom is German and her culinary traditions definitely influenced my food culture in the past and today. I’ve had the great treat of visiting Germany several times in my life, and the greater treat of eating German food in Germany. I don’t even know where to start! I have so many good memories of my times in Germany, and many, many of them revolve around food. Here are a few highlights that come to mind:

  • Kaffee Trinken (literally translates to “Coffee Drinking” but is more like “Tea Time” or “Afternoon Coffee”. Each and every day, tea or coffee and some kind of cake is served at 4pm either at home or out at a cafe. But seriously, this really happened everyday! You can imagine my 10 year old self’s delight!
  • I could write an ode to the Schwarzwälder Kirschtorten (Black Forest Cakes) of the world. If it was an option on the menu or at the bakery, to me it was the only option.
  • The ice cream in my grandmother’s freezer. In particular the tartufo and black currant varieties.
  • The weird frozen mushroom pizzas that were kind of good and kind of like cardboard that I couldn’t get enough of.
  • The schinken (ham)! And the wurst (sausages)! Funny side story: when my cousin who lives in Hamburg was told that we lived near Washington, she thought it was called “Wurst und Schinken” and was very interested in visiting.
  • Milk, fresh from the one cow in my Grandparent’s village. I once went with my Grandfather to get the milk and I saw the actual cow from which it came. I was very impressed by this.
  • Kirschsaft (cherry juice) that you could only buy at health food/vitamin stores. It was pure cherry juice with no apple juice filler, and is probably the most delicious liquid in the world.
  • Baumkuchen which translates to “tree cake”. Baumkuchen is going to get its own main list item.
  • Ritter Sport Trauben Nuss Chocolate and just chocolate in general.
  • Wasser Brötchen (literally translates to water rolls) are the basic breakfast/sandwich rolls in Germany. The baker in my Grandparent’s village made them with milk, not water, and they were the best!

2. Baumkuchen is cooked in a really unique manner. A thin layer of batter is rolled onto a rotating spindle and baked. The layer bakes quickly, and then more batter is added. The baking continues in this manner, layer by layer until it’s done, then it’s covered in chocolate! The outside of each layer browns as it bakes, so when you slice it you can see the rings, much like a tree! I found a video that is kind of long, but gives you a much better idea of what I’m talking about. German bakers make baumkuchen around the holidays, so they are really a special treat. If you ever come across baumkuchen in an Asian market, don’t be tempted. I made the mistake once, and it is nothing like the real thing. In search of that special taste, I found a recipe a few years ago for “baumkuchen spitzen” or “tree cake corners”. Instead of baking on a rotating cylinder, you can build up flat layers on a cookie sheet, using the top broiler to cook each layer quickly. They turned out wonderfully and have since become a holiday tradition.

3. My brother James wrote a food blog at one point. I was just checking it out again, and it’s really good. I kinda forgot how good it is! He was very creative with his recipes, and his writing was pretty frank and funny (check out his post on wasser brotchen failure for a chuckle). He actually tried out his own version of baumkuchen that he admits didn’t turn out so awesome and gave me a shout out for having better results! Ha! Although he doesn’t have time to keep up with his food blog anymore, he’s still an awesome cook, and I always love going over to his house for dinner. Some of my best recent food memories are at his house, trying out a new Indian recipe he’s been tinkering with, taste testing his latest ice cream experiments, or simply sitting and chatting over a cup of tea or some cheese.

4. I, myself, was very interested in cooking and baking from a young age. When I was 5, my kindergarten class put together a cookbook of favorite recipes from all the mom’s of the kids in the class. Our contribution was my grandmother’s southern pound cake recipe, and even at that age, I’d already helped my mom bake many of them! Brownies were my specialty, and I experimented with different recipes. I even tried a “microwave” brownie recipe, which wasn’t so good, but definitely fun! I officially made up my first recipe when I was 11. I made “lemon sage chicken” for my oldest brother (who is 10 years older than me), and I felt very satisfied when he proclaimed how delicious it was. Now, years later, I wonder if it actually was any good. Maybe I should make it again and find out! In recent years, my focus has been more on cooking than baking. I like to cook simple food well, and have investigated new ways to cook meat, seafood, and veggies that diverge from the “old standards” that I grew up with. One of the biggest revelations is how much I like brussel sprouts and red cabbage when they are not cooked to death in a pressure cooker, which was my mom’s usual way of preparing them. That leads me to my next point.

5. My mom’s a good cook, and of course I learned a lot about cooking from her, but I have crated my own versons of many of her tried and true recipes. I’d say we are both intuitive when cooking, and we both take risks, but we approach cooking in different ways. If I had to sum it up, I’d say that I am more precise and pay attention to details, whereas she is much more carefree and puts ingredients together just to see how it’ll turn out.

6. When my dad was left to his own devices, he had 2 go-to “recipes” if you can even call them that. He would cook eggs in a frittata style with whatever was on hand, usually including some kind of meat and cheese, or he would cook “hamburger”. Not *A* hamburger, but hamburger. He’d fry up hamburger meat. No frills. Sometimes I’ll cook up one of these dishes when I’m short on time, and I can practically hear my mom saying, “you really are your father’s daughter!”

I think that’ll do for now. I have a lot more memories that I could share that revolve around food, but I think the ones listed are the most prominent, and probably the most influential to the way I approach cooking and eating.

I know this is pretty different from my regular posts. Lots of writing, and no images, but I hope you enjoyed the little peek into my Culinary History!

Epson V-750 Scanner Review

Before the end of 2011 I bought myself a new scanner.

My old HP All-In-One scanner/printer got the job done, but scanning was always frustrating because it never quite captured all the detail or accurate color of my art. I’d do my best to edit the images, but I knew it could be better.

I did a ton of research and decided that the Epson V-750 was the scanner for me. Most of the comparisons I saw online showed scans of slides and photographs, but I was encouraged by the detail that it picks up, even in photos, so I felt confident it would do my art justice. I wasn’t disappointed!

I won’t go on and on since the images speak for themselves.

Each of the following scans are minimally edited, mostly just cropped and a little dust clean up. In the images below, the HP scan comes first, followed by the same image scanned with my new Epson.

Kaleidoscope Drawing
HP Scan

Kaleidoscope Drawing
Epson Scan

Kaleidoscope Drawing
HP Scan

Kaleidoscope Drawing
Epson Scan

Isn’t the difference amazing? For me, the Epson really shines in the lightest areas. It captures the detail of every mark I make; even light pink colored pencil, or delicate graphite. I’m sure I could bring out the color in the Epson images, but I was so impressed by the quality right out of the scanner that I wanted to share them without any editing at all.

The Epson V-750 has been a dream come true so far. It’s fast, it’s quiet, and the image quality is impressive. I actually look forward to scanning. No more frustration!